Wednesday, March 30, 2011

Psst! I'm in Peru. It's awesome here.

They have fantastic food and gracious, beautiful people.   Stunning remnants of the Incas literally around every corner, and photo opportunities like you wouldn't believe.  We are halfway through this incredible journey, and our family is climbing ancient stone staircases, petting llamas, making music, getting muddy and laughing every day.  It is the most healing thing we could possibly have done right now.


And so I say, Amen.

 * I will post with the highlights of the trip when I get home.

Saturday, March 26, 2011

No Magic Bullet

My sister called to warn me.

Her:  Just a heads up.  Mom's TV somehow got stuck on Channel 9, and she was up watching infomercials all night long.  She's fixated on this blender thing for Rachel.   It supposedly makes sorbet in 10 seconds and can also grate cheese.  
Me:  God, I hate it when she can't find the remote.  OK.

I go over to see Mom later that day.  She is, indeed, obsessed.

Mom:    It's called the Magic Bullet.  You can make smoothies in no time, and sorbet in 10 seconds!  I'm picturing her coming home from school, and getting out some carrots and broccoli and some fresh fruit and spinach maybe.   You could go to the farmer's market and get a bunch of organic vegetables, like maybe kale and swiss chard.   It would be pure, healthy, juice.  Instead of all that junk food, you know?  Diabetes is terrible, just terrible, and I hate to think of her suffering like that if we can help it.  And this thing is incredible.  It really will change her life.  She can make pasta in less than five minutes.  And salsa, too.

This is utterly surreal.  Mom, who has stopped eating and drinking herself in order to die faster, is deciding that my daughter should have kale juice as an after school snack to stave off her non-existant diabetes.   I take a stab at a response.


Me:  You know, I have a very good blender at my house already.  If she ever wants to make a smoothie, she can.  It's a really good idea you've got there, Mom.  But I'm not sure we need the Magic Bullet.
Mom:  But, this makes sorbet.  And it's just her size.  Plus, if you call now, you get two.
Me:  You get two?
Mom:  Yep.  Normally, they each cost $100.  But, for a limited time, you can get two.  And I was thinking, Rachel could do it with a friend.   So they could both be healthy.  It would be so much fun.
Me:  How about if Rachel gets one and you get one here, so you can be healthy, too.
[Silence]
Mom:  (glaring fiercely at me).  I am serious about this. It's important.
Me:  OK.  Well, here's the thing.  Sometimes, things on TV are not quite as good as they say.  I'd hate to invest that much money in something gunky.
Mom:  (sighs) I know.  I've been worrying about that a lot.
Me:  How about if I do a little research?  I could look it up online, and see what people are saying?  Maybe even see if they sell them in stores?
Mom: (brightening visibly)  Would you?  Oh, wonderful!  Here's my list of what to consider about this.  Write it down.  1. It has to be good quality.  Not junk. 2.  It has to be able to make the vegetable fruit juice.  3.  It has to make sorbet.  4.  I hear it can grate Parmesan cheese in a snap.  I would like it to be able to do that, too.   If it does all those things, I want to buy it for Rachel.  Can I afford that?
Me:  (Sighing quietly) OK, Mom.  I have it all written down.  And, yes, you can afford it.  Let me look into it and let you know when I see you tomorrow.   
Mom:  OK. I like that plan.

She closes her eyes and reaches for the remote.   My time is clearly up.

I return the next day with the news that the Magic Bullet is available for less than $50 bucks on Amazon, that you do not need to buy two, that it is good at juicing, but only soft things, not carrots or broccoli or kale, that it has difficulty with hard cheeses, and that I have no info on the sorbet situation.   I tell her that even if it does all of these wonderful things, there is no guaranty that Rachel will ever go near a stalk of swiss chard, let alone decide to whip it up in her Magic Bullet, even if she had one. I reiterate the adequacy and pre-paid nature of my blender.  I know all of this is futile.

Mom:  Let's buy it.

The day after that, I drag my husband into our local Bed Bath & Beyond and head for the "As Seen On TV!" section.  He is very confused.  I tell him that Mom wants Rachel to have a Magic Bullet.  He is no less confused, but sweetly helps me put the box into our cart.   I take the box to Mom's and show it to her.  She is beaming with happiness, particularly when I tell her I used a 20% off coupon.


Mom:  Unwrap it!

She frowns a little at the plastic mugs ("I thought they'd be a little sturdier, you know?"), but has me read the sorbet recipe aloud several times, along with the one for juice.   She is delighted with the whole thing.   

Mom:  Can you stop at a farmer's market on the way home? Before Rachel gets home from school?
Me:  Well, probably not.  But I will go to Trader Joe's.  They have fruit, too.
Mom:  That sounds good. Really good.  Get all the stuff for sorbet.  But use a pretty glass.  I don't care for those mugs.

I go home and put the box on the table.  My husband reminds me that I said I'd probably just turn around and return it after showing Mom, but then I unpack the frozen berries I picked up at Trader Joe's and shrug helplessly.  She's done it again.


My daughter comes home from school, and is instantly enchanted with her gift from Grandma.   She goes straight to the sorbet recipe.   We plug everything in, read the instructions, and wait for the magic to happen.  After several false starts (and a hell of lot longer than 10 seconds), we have made sorbet.


Rachel calls Mom to tell her the good news.   My son is queued up behind her to make a smoothie.   

In the end, as always, Mom got what she wanted:

My daughter now owns a Magic Bullet.
And, a few days after that phone call from Rachel, peacefully watching TV, Mom died.  

Why can't there be a Magic Bullet for that?  I'd take two.

Thursday, March 24, 2011

Battle: LA (banana bread edition)


Inspired by this magnificent film*, I set up my own little combat mission.

Battle: Banana Bread

In one corner, a recipe from Simply Scratch that made me immediately decide to jettison my old standby banana bread recipe** because it was severely lacking in Streusel Topping.    In the other corner, an alien invader: all-vegan, completely healthy, gluten- and guilt-free banana bread from the She Sez blog.

This:

vs. this:

No contest, right?

Wrong.  That wacky health food was seriously some of the best banana bread I had ever eaten.  I took both banana breads to a brunch, and they battled, side by side, to a dead heat with the crowd.   In Santa Monica.

Healthy Vegan - lower left; Full of Butter - upper right
Time to call in the marines.

Streusel-Topped Banana Bread


Besides the topping element, I had to try this because of the roasted bananas.  It really does work!  This bread is delectable.  The texture is almost like a banana cake, and that dessert-like sensation is only heightened when you bite into it and taste the butter and the sugar blended perfectly with the extra sweet aroma and flavor of bananas and the crunch of walnuts in the topping.   So delicious!!!

For the bread:

3 ripe bananas
1 tsp. cinnamon
1/4 tsp. freshly grated nutmeg
1 Tbs. milk
1 c. sugar
8 Tbs. (1 stick) butter, softened
2 eggs
2 c. flour
1 tsp. baking powder
1/2 tsp. baking soda
1/2 tsp. salt

For the streusel:

1/3 c. flour
1/3 c. brown sugar
1/4 tsp. cinnamon
pinch of salt
4 Tbs. (1/2 stick) butter, cold, cut into 1/2 inch cubes
heaping 1/3 cup of chopped toasted walnuts

Preheat the oven to 350.  Lay the bananas, peel and all, on a baking sheet.  Roast in the oven for 15 minutes, until peels are very dark brown.  Reduce oven temp to 325.  Butter a 9x5x3 loaf pan, or line with parchment paper, allowing the parchment to hang over the sides.***

Peel bananas and place into a mixing bowl.  Add cinnamon and nutmeg, and mash together with a fork or a potato masher.  Stir in the milk and set aside.

Cream the butter and the sugar with an electric mixer until light and fluffy.  Add the eggs, one at a time.   Stir in the banana mixture.  In a separate bowl, whisk together the flour, baking powder, baking soda and salt, then slowly add to butter mixture, stirring only until flour disappears.  Don't overmix, or the bread will be dry.

Pour batter into prepared pan, and bake for 40 minutes.  About 30 minutes in, prepare the streusel.  Using a food processor or a bowl and pastry blender, mix the flour, sugar, cinnamon and salt together.  Cut or pulse in the butter, until mixture resembles coarse, chunky crumbs.  Mix in walnuts.

Take the bread out of the oven.  It should be light brown but still jiggly.  Cover completely with the streusel topping. Return to the oven for another 20-30 minutes, or until a toothpick inserted into the bread comes out clean.

Allow to cool for 10 minutes in the pan, then carefully remove and allow to cool completely on baking rack.

Utterly Guilt-Free Banana Bread
I first sampled this bread at the home of a tremendously health-conscious person, after a meal of lentil salad and our choice of tofu or boneless skinless chicken breasts (I went for the chicken, and the lentils were very tasty.)  When she brought out dessert, I was surprised, and when I took my first bite, I was shocked.  It was wonderful!  Super moist, very rich, with almost a caramel flavor, it was completely addictive.  Be forewarned, though.  Unless you eat like this everyday, the ingredients will set you back a pretty penny at Whole Foods.


1/4 c. refined coconut oil
1/2 c. coconut sugar (I used date sugar in mine)
1 egg or "egg" replacer (if you use a real egg, it's not vegan, but it's still good for you)
4-5 ripe bananas, peeled
1 1/2 c. quinoa flour
1 tsp. baking powder
1/2 tsp. baking soda
1/4 tsp. salt
almond meal, for pan prep
vegan (or not) chocolate chips or nuts, optional

Preheat oven to 350, and, using coconut oil, grease a 9x5x3 loaf pan.  Dust with a little almond meal to prevent bread from sticking.

Combine coconut oil, sugar, and egg, and beat well with an electric mixer.   Add bananas, and mix again.   In separate bowl, whisk quinoa flour, baking powder, baking soda and salt together.  Stir gently into banana mixture.  Do not overmix.

Pour batter into prepared pan.  If using chocolate chips or nuts, sprinkle them on top now.  Bake for 45 minutes, or until tester comes out clean.  Cool for a few minutes, then remove from pan and cool completely.


* Featuring a scene where the rag-tag group of soldiers, led by their about-to-retire-because-he-lost-some-good-men-out-there-and-it's-killing-him-inside staff sergeant, have finally reached the rubble-covered remnants of a Santa Monica police station to rescue the hapless civilian family (complete with an adorable dark-eyed moppet who will soon be referred to as "my little marine") at an absurd cost in dollars, lives and the audience's time. After a horde of invading aliens crashes the double doors, only to be repulsed by the pluck of our heroes, they find one surviving but injured extra-terrestrial and drag it through the dark hall, lit eerily by flickering florescent lights. They then proceed to abuse the living #@?$!&@ out of it, trying to determine "How do we kill the damn thing?!" Suddenly, the lovely aunt of "my little marine" steps forward, face artfully smudged, and says:

"Maybe I can help. I'm a veterinarian."

It's a lock for best original screenplay.
** From The New Moosewood Cookbook.   This one's nice because you mix the bananas with black coffee, and add orange peel into the bread.  It's very grown-up tasting and makes wonderful toast, perfect for slathering with butter...come to think of it, I'm going to retrieve that recipe right now.  After all, you can't have topping every day, right?
*** A neat trick I read about after I'd already done it the other way.  Helps keep the topping on, and makes getting the bread out of the pan a breeze.  Hope you read this first.

Tuesday, March 15, 2011

A proof

I like math.
I also like pie.
Therefore, I love National Pi Day.

QED.


Pi-Inspired Apple Hand Pies
A splendid mash up of recipes from Cooks' Illustrated (the glorious apple filling), Smitten Kitchen (just for having the idea of making hand pies.  Brilliant!), The Big Sur Bakery Cookbook and my dessert class (the delectable crust).  And of course, the number Pi, in whose honor I used a perfectly circular cookie cutter to make these.  There are quite a few steps involved here, but the end result is totally worth it. Kind of like a good math proof*.

For the crust:

3 c. flour
1/2 c. sugar
3/4 tsp. salt
zest of one orange
12 T. (1 1/2 sticks) butter, frozen and then grated finely
1/3 c. cold apple cider, plus extra as needed
1 tsp. vanilla

In the bowl of a food processor, combine flour, sugar, salt and orange zest by pulsing a few times.   Sprinkle frozen grated butter on top, then pulse again until mixture resembles coarse, sandy crumbs.   Combine apple cider and vanilla, then with the food processor running, slowly pour in the liquids.  Pulse just until the dough begins to come together into one or more big chunks.  There will still be some stray dry parts, and it should definitely not be one smooth ball.  If needed, add a little more apple cider, 1 tsp. at a time.

Turn crust out onto a smooth, cool surface, and compress with your fingers, incorporating any dry crumbs as you go.  Form into two discs, about 4-5 inches across and an inch high, place into a plastic bag, and refrigerate for an hour (or as long as a few days).

Working with one disc at a time (the other one stays in the fridge), roll dough out between two sheets of wax paper, until it's about 1/4 inch thick.  Using a 4 inch diameter** cookie cutter, make as many rounds as you can out of the dough.    I was able to make 24 rounds, but if you aren't nibbling on the scraps as you go like I was, it's possible you might get a few more or less.  No matter what, you need an even number of rounds.  Lay the rounds out between sheets of wax paper on a cookie sheet, and refrigerate for another 30 minutes. While those are chilling, make the apples.


For the apples:

1 c. apple cider or fresh apple juice
2 Tbs. fresh lemon juice
1/3 c. brown sugar
3 large or 4 medium Pink Lady apples, peeled, cored, quartered, and very thinly sliced
1/3 c. sugar
1 tsp. cinnamon
2 Tbs. butter
1 egg, beaten
Sugar crystals

In a small saucepan, cook apple juice over medium high heat until reduced to 1/2 c.  This will take about 10 minutes, more or less.  Add lemon juice and brown sugar, and cook over low heat, stirring every once in a while, for another 5 minutes.  Cool.

I used a mandoline to slice my apples, and it worked like a charm!  But a regular sharp knife is perfectly fine.  Remember to keep a little extra lemon juice handy as you are prepping the apples.  If you sprinkle some onto the cut slices as you go, they will not turn brown. Combine sugar and cinnamon, then pour over the sliced apples in a bowl.   Set aside.

In a large skillet, heat butter over medium high heat until sizzling.  Add the apple/sugar/cinnamon mixture, and cook, stirring often, for about 6-8 minutes, or until apples are warm but not cooked completely.  Remove from heat and stir in the apple juice mixture.  Eat a couple, just to see how delicious this is going to be in your pies.  Now stop.  Really.


Get the crust rounds out of the fridge.  Using an itty bitty cookie cutter, cut a hole in the center of 1/2 of the rounds.  These will be the tops of your pies.    Using a tablespoon or your hands, place a small mound of the apple mixture onto the bottom rounds, leaving 1/2 inch of crust around the apples so you can seal the pies.    Don't worry if you have some apples left over (you can eat them), and if there's a good amount of sauce left in the pan (we'll come back for that.)


Using your fingers or a pastry brush, spread a little of the egg wash around the filling on each bottom round.  Hang onto that egg wash...you'll need it again later.  Carefully place a top round over the filling, then work around the edges, pressing gently with the tines of a fork to seal the top and the bottom rounds together.   Using a small spoon, drizzle a little of that leftover pan sauce into the top hole of each pie.  Some will definitely run down the sides, and make a little mess.  Leave it!  These drippings will add nice crispy caramel bits to the pies when they bake.  


Pop the tray into the fridge for another 20 minutes while you preheat the oven to 375.

Take the pies out of the fridge, brush the tops lightly with some of the remaining egg wash, and sprinkle with sugar crystals.  Bake for 20-25 minutes, or until crusts are deep golden brown.   Cool for at least 15 minutes, then serve warm or at room temperature.   You truly can hold one of these in your hand and eat it just like that.


Yum. Yum. Yum.***


* Here's an example of a bad proof, which I actually had to do in a math class in college:  Prove that 0 is less than 1.  Show your work.  The proof took two pages, single spaced, and I changed my major the next day.
** That's 2(pi)r, for those of you following along at home.
*** I'm quoting here.

Thursday, March 10, 2011

Calories for a Cause

Today I ate this:
Chicken curry with apricots and almonds from Kensington Caterers
And this.

Angus Steak Asada Tacos with Tomatillo Salsa on Fresh Pressed Tortillas, from Pinches Tacos*
And these.
Carrot Cake Bon Bons from Cakified

And these.
Peanut Butter S'muffins (i.e. S'Mores Muffins!) from Gotta Have S'More

A bunch of these.
Gourmet Chocolate Brownies from a 1959 heirloom recipe by Phlip N' Nik.

And a lot of other stuff that I couldn't take photos of because it went into my tummy too quickly.  Like Kale Salad with Cashew Lemon Dressing (with a side of Gingersnaps) from Food.   Rosemary Almond Butter Crunch from p.o.p. candy.  Pretzel Toffee Bark from Susan the Baker. And Guiness Stout Chocolate Cake with Vanilla Glaze from Immaculate Confections**.

It was for charity.
Give. Give. Give***.
That's me.

* Washed down with freshly-made Watermelon Lemonade from this guy.  That salsa had a kick to it!


** Every single one of these indulgences was insanely good, and totally worth the calories.   Many of them are small ventures run by the artisans themselves.   Most do special orders and catering and some are available in gourmet stores around town.   Check them out! Order some! Invite me over!
*** I also gave myself some eye-catching jewelry.  So people won't notice my hips quite as much.

Monday, March 7, 2011

Too bad my early electronics training didn't pay off nearly as well

When I was in 7th grade, these were the options for class electives:

1.  Sewing and Cooking
2.  Electronics and Woodshop

You gotta love public school junior high curriculum in the (ahem) '70s*.

Rebel that I am, I opted out of Sewing, and into Electronics, where I proceeded to spend nearly an entire semester assembling something involving an LED display, a switch, a pc board and and lots of wires and soldering**.   At the end of the class, I had a real, live, doomsday timer to show for it.   I could throw the switch, and the glowing red LED display lights would begin to count ominously...1, 2, 3...***  The sewing class projects**** gave no such cause for bursting into maniacal laughter, so I feel I made a good choice there. However, the drill press scared the crap out of me, so I went for Cooking in Semester 2.

I remember next to nothing about that class except this one recipe.   Upside down coffee cake.  For years after that I made this for my family every chance I got.  Breakfast?  Leave it to me!  I could practically make it in my sleep.  Bisquick. Vanilla. Brown Sugar. Butter.

Magic.

Then, I went away to college and promptly forgot all about it.  Dorm food will do that to a person.  Until last week, when my sister mentioned in passing, "You know that coffee cake you used to make? From junior high? With the brown sugar and the butter on the bottom?  That was good stuff."

Yes, it is.

Upside Down Caramel Coffee Cake
A slightly more sophisticated but no less delicious version of what I learned in Home Ec.  And if you need a doomsday timer, try this one.

1 1/4 c. brown sugar
3/4 c. butter
2 c. buttermilk baking mix, such as Bisquick
2/3 c. sugar
1 c. sour cream
2 eggs
2 tsp. vanilla

Preheat oven to 350.  In a medium saucepan, combine butter and brown sugar over medium heat until butter has melted.  Allow mixture to come to a boil, then whisk constantly for about a minute, until completely smooth and combined.   Immediately pour into a buttered 9 or 10 inch baking dish with deep sides...round or square is fine.  Set aside.

In a mixing bowl, stir together the baking mix and the sugar to blend.   Add the sour cream and the eggs, and beat with an electric mixer for 3-4 minutes, until light and smooth.  Blend in vanilla.


Carefully pour the mixture into the pan, making sure to pour batter evenly over the prepared caramel.  


Bake for 35 minutes, until light golden brown on top.  Your house will smell amazing right about now, by the way.   Allow to cool for perhaps 5 minutes, then invert onto a serving plate.  The caramel sauce will drip down the sides of the cake.  Using a spoon, collect any extra and pour it back on top of the cake.

Cool for another 25 or 30 minutes, then serve.


Goes especially well with bacon and eggs.  Check back soon for more on that later.

* The mid-to-late '70's, OK?  Ah, who am I kidding.  I know I'm dating myself.
**Soldering. Now that was fun.  Why aren't there more opportunities to melt spools of pretty silver metal with a smoking hot tool in real life?  No wonder the kitchen gadget I am coveting more than life itself is a blowtorch.
*** As long as I didn't jiggle the table too much.  My soldering, though enthusiastically done, was not top quality.
**** They made an apron and a pin cushion, I believe.

Friday, March 4, 2011

The Cuban Dinner Crisis

I was beyond excited about my son's upcoming 9th grade Spanish project, laid out in detail in a letter home that we had to sign:

Spanish Cooking and Family Dinner Assignment
  1. You are to have a “Family Dinner”, Spanish style
  2. You are to cook Spanish or Latin American dishes. (Except Mexican; I’m sure you’ve tried it. Do not do Brazilian they don’t speak Spanish.)
  3. You are to make dinner and dessert.
  4. You are to have your parent/s read about this assignment before you start the project. Remember, most of your family has to be available.
  5. You are to set and clear the dinner table in a timely fashion. To wash dishes and clean kitchen on the same day! Parents will grade you on this point (A, A-, B+…. F)
  6. You are to consult with your parent/s, or make them aware if the recipe calls for an alcoholic beverage as one of the ingredients. It may be eliminated without any major change or consequences to the flavor of the dish.
  7. You are to have your parent/s write a candid and honest note with an evaluation about your special Spanish assignment.
Me:  This is so GREAT!!!  When do we start?  What do you think we should make?
Him:  Mom.  Read the paper you just signed.  See where it says I have to cook the dinner?  On my own?  Without you? So I can get a good grade for my class at school?  There is no we here.
Me:  Oh.  Right.  Of course.  Got it.  Sure, honey.  No problem.

I leave the room and come back carrying a huge stack of cookbooks, food magazines, recipe binders and and dog-eared class handouts.  I drop the whole pile with a thud next to his desk.

Me:  Here you go!  I thought you might want to get started with these to begin with, and I have more online resources if you need them.  I can highlight some options for you, or we can...
Him:  You are getting an F in understanding this project.   It's MY project. Go away.
Me:  OK.  But I would seriously think about something from Central America...maybe Costa Rica?  You know Daddy and I went on our honeymoon there and the food was really good.  They have this side dish called Gallo Pinto...in fact, I'm pretty sure I have a picture somewhere that I can dig up...

[The door slams in my face]

Me: (to the closed door) Or, you could do like a tapas kind of thing?

He walks in the door a few days later.

Me:  So, what do you think?  Peruvian food?
Him:  For dinner tonight?
Me:  For your PROJECT!  For Spanish!
Him:  No.
Me:  Argentinean mixed grill?
Him:  Arrgh!! You are driving me crazy!!!!
Me:  Now, how would you say "you're driving me crazy" in Spanish?  You need to practice your conversational skills, honey.
Him:  Mi madre es muy loco en la cabeza.

Choosing based primarily, I think, on the idea that a drink made with Coke is a matter of national pride*, he decides to go Cuban.   Leafing through the recipes from a Cuban cooking class I took, he immediately discards any dishes that have more than 10 ingredients, or where the instructions are longer than a paragraph.   I bite my tongue, even though I really want the whole baked fish with this amazing sofrito sauce with tomatoes and peppers and...

His project.  Not mine. Deep breath.

Me:  Sounds good.  So, we've got the pork, the rice, the beans, and ice cream and cookies for dessert?
Him:  No beans.
Me:  But...
Him:  No beans.  I don't like beans.  I don't need to make beans. No beans.
Me: (wailing) It's not Cuban food without black beans!   Come on...it's not much extra work.  I'll help!
Him:  No. Beans.  And you CAN'T HELP!!!

And suddenly, this international goodwill project has escalated into the Cuban Dinner Crisis.  We are at a standoff.

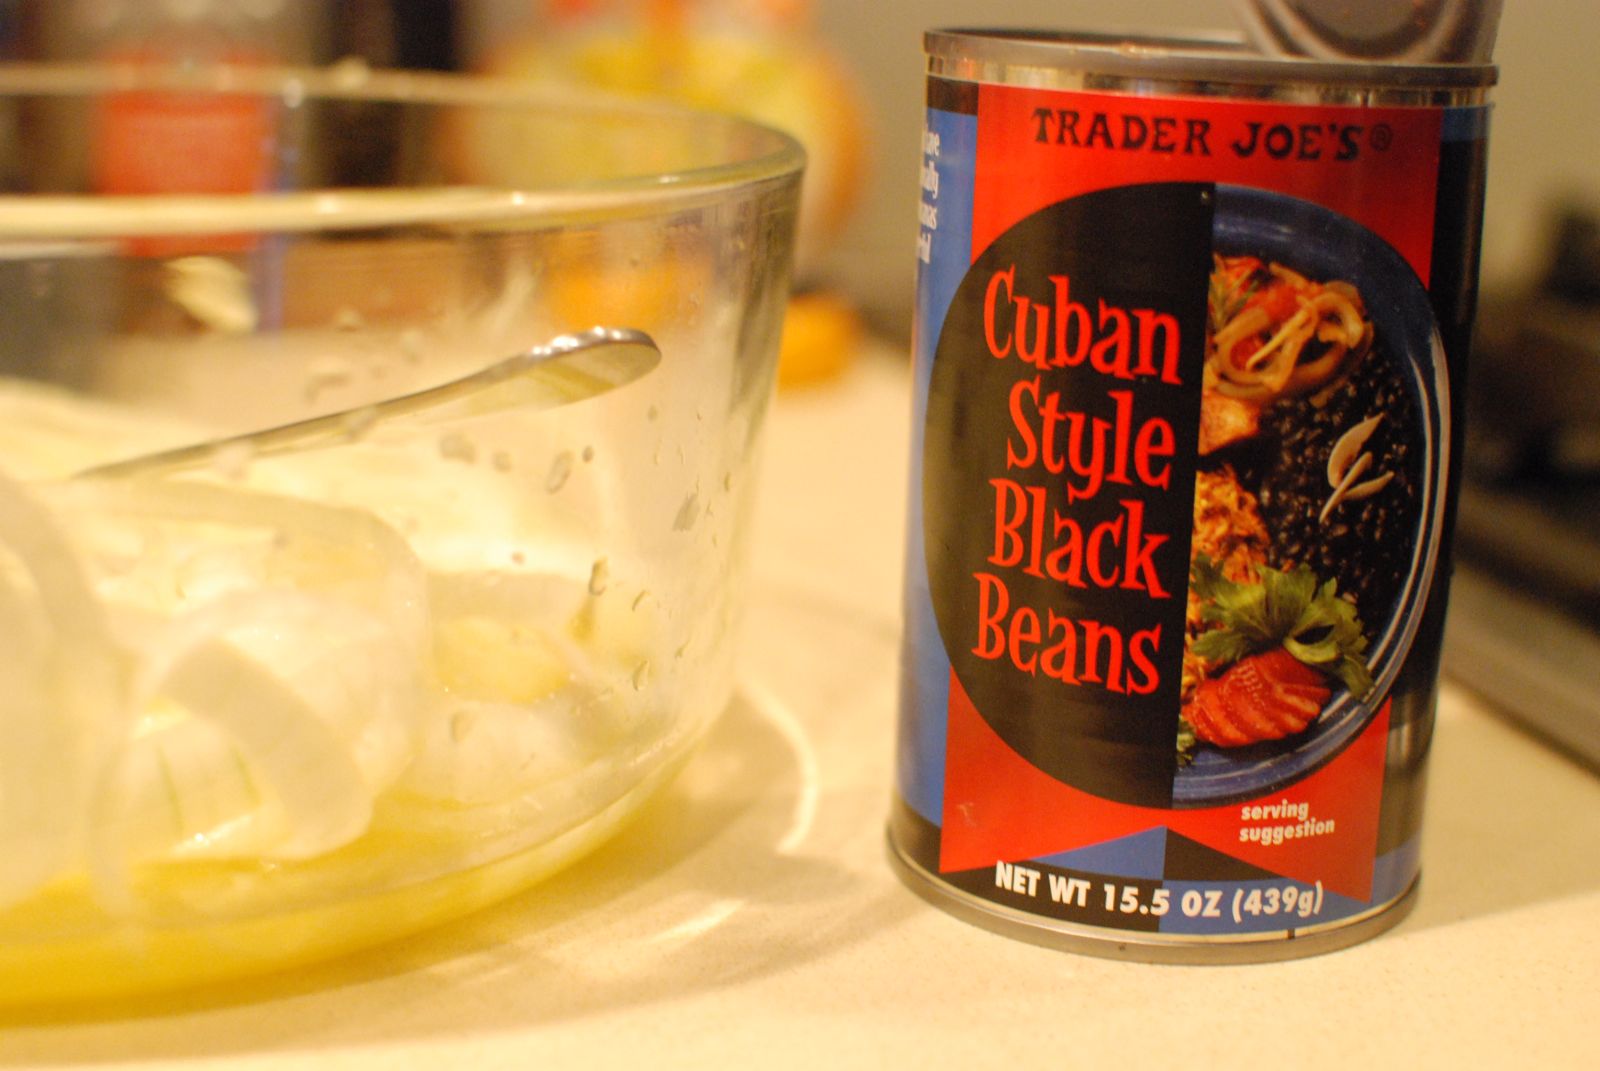
Knowing I can't deploy the black beans made from scratch into his menu, particularly since I have been banned from food preparation, I sneak a can of black beans into the grocery bag.


He puts them away in the cupboard.

I take them back out, and mix them in as unobtrusively as possible with the other ingredients on the counter.

He glares at me.

I mention in passing that I will be grading him on this assignment.

We have beans. And an absolutely delicious Cuban dinner to go with them.

Making a garlic paste for the Mojo
Enjoying the use of the chef's knife a bit too much

Juicing oranges and limes

Seasoning the pork roast

Getting a nice sear on the meat

The savory, tender, and juicy finished product.  Que saboroso! 

Note the beans on the top left.  Wouldn't have been the same without them.

The perfectly clean dinner table.  He earned that A.

The Student Chef, enjoying his own homemade vanilla ice cream for dessert

A+ Puerco Asado with Mojo Criollo
Adapted from a recipe from The New School of Cooking

One 4 lb. boneless pork loin, trimmed
14 cloves garlic, (you will use 6 for the pork and 8 for the onion mojo)
1/2 tsp. dried oregano
salt and freshly ground pepper, to taste
2 bay leaves, crushed
3/8 c. fresh lime juice (1/4 c. for the pork, and 1/8 c. for the onions)
1/2 c. fresh orange juice (1/4 c. each for the pork and the onions)
1 c. red wine
1/8 c. fresh lemon juice
1 medium onion, very thinly sliced
1/2 c. olive oil, plus extra for browning the pork

For the pork:
Several hours before cooking, score the roast all over the surface with a sharp knife.  Place the roast in a non-reactive dish.  In a mortar, combine 6 garlic gloves, 1/2 tsp. oregano, and 1/2 tsp. salt and mash into a paste.   Rub the garlic paste all over the roast.  Season liberally with pepper, and sprinkle the crushed bay leaves on top.   Combine 1/4 c. of orange juice, 1/4 c. of lime juice, and the red wine, then pour the combined liquids over the roast.  Cover with plastic wrap and refrigerate for at least two hours, turning several times.

Preheat the oven to 350.   Heat a few tablespoons of olive oil in your roasting pan over medium high heat.   Remove the roast from the marinade, pat dry, and season again with salt and pepper.  Reserve the marinade in the refrigerator.   Sear the roast on all sides until nicely brown, about 2 minutes each side.  Transfer to the oven and roast for about an hour, until a meat thermometer reads 150-155.  Halfway through cooking time, add marinade to the roasting pan, and baste frequently with the pan juices.  Transfer to a serving platter, cover with foil, and allow to rest 10-15 minutes.  The resting is important, as the pork will continue to cook, and it needs this extra time.  Collect any remaining pan juices, cook over high heat for a minute or two, then serve with the pork and the Mojo Criollo, below.

For the Mojo Criollo (citrus-garlic fried onions):
Place 8 cloves of garlic and 1 tsp. salt into a mortar, and using a pestle, crush together to form a paste.  Transfer garlic paste, thinly sliced onions, 1/4 c. orange juice, and 1/8 c. each of lemon juice and lime juice to a mixing bowl, and allow to sit for 30 minutes at room temperature.

When pork comes out of the oven, heat 1/2 c. olive oil over medium high heat in a frying pan until very hot.  Add the onion-garlic mixture quickly, stir for a minute or two, then serve immediately with the pork, white rice, and black beans.

* The Cuba Libre, or Rum and Coke with Lime.   Or in our case that night, per point 6 on the assignment instructions, Coca Cola from Mexico, with lime.


ShareThis