I would like Jane Lynch to play me in the movie please.

From the LA Times
That's right.
The latest sequel to The Marvelous Misadventures of the Fabulous Baker Girls (and the lesser known but no less heartbreaking Scientific Method of Pie, and If at First You Don't Succeed, Pie, Pie Again) has an incredible surprise ending*.
This pie...


Plus it was the winner of Best Fruit Pie and Best Crust!
Here's a slideshow from the event, before the unexpected plot twist *** left me with my mouth hanging open in front of all those people and my camera stuck in the bottom of my bag.
"Best in Show" Apple Pie

by
Prep Time: 1 hour, plus several hours of chilling time
Cook Time: 1 hour 15 minutes
As the judges have stated year in and year out, the crust makes all the difference. The filling is based on the "Hair of the Dog" pie I made after the contest in 2011. The combination is everything a great apple pie should be: full of fruit flavor, not too sweet, with a creamy/tangy hit of vanilla and cinnamon, and a burnished, buttery, flakey crust that is a breeze to make and work with. Success!

- 20 Tbs. (2 1/2 sticks) unsalted butter, cut into 1/4 inch pats
- 12.5 oz. flour (about 2 1/2 c, but better to weigh it!)
- 2 Tbs. sugar
- 1 tsp. salt
- 6 Tbs. cold apple cider/juice or water
For the pie:
- Juice of 1 lemon
- 3 lbs. (or about 8) tart, crisp apples (I used a mixture of organic Honeycrisps and Golden Delicious)
- 3 Tbs. butter
- Splash of Calvados liqueur or apple cider/juice
- 3/4 c. sugar
- 1/3 c. flour
- 1 1/2 tsp. cinnamon
- 1/2 tsp. salt
- 2/3 c. sour cream
- 1 tsp. vanilla or vanilla paste (I use paste, but either works)

For finishing:
- 1 egg white
- another little splash of Calvados, or apple cider/juice
- 2 Tbs. raw sugar mixed with 1 tsp. cinnamon
Instructions
NOTE: For the science behind why this pie crust kicks serious ass, read this, and read this about why the apples matter so much****.
Several hours or a few days before you want to make the pie, prepare the crust. You'll need this time because the crust needs to chill. In fact, cold is a huge deal for great pie crusts.


Slice the butter into pats, then put the pats back into the fridge.

I made four (!) recipes of this crust. Two tester pies, and two pies for the contest day. You really can tell I have an engineering background, huh?
Place 2/3 of the flour (NOT ALL OF IT), the sugar, and the salt into the bowl of your food processor. Pulse a couple of times to combine. Grab those butter pats, and lay them on top of the flour. I know, it's a lot of butter. That's good.


Cover, and pulse again until mixture is crumbly, with all of the clumps moist and no dry floury parts. Using a spatula, press the mixture down until smooth, and then top with the remaining flour. Pulse 5-10 more times, just until flour is slightly incorporated.


Turn the mixture out into a mixing bowl. Drizzle the apple juice/water over it, and then, using a spatula, mix the liquid in until the dough comes together completely. It may be slightly softer than pie dough you are used to, but don't worry.

Take dough out of the fridge about 10 minutes before you want to roll it out, to give it a chance to soften a little bit. Place disc between two sheets of wax paper, and roll out into a circle a good inch or more around than the outer edge of your pie plate (have that handy so you can check).


I know this is a repeat photo from another post, but it helps to see the wax paper thing. This is a great way to avoid adding extra flour to your dough and making it tough when you roll it out.
Leave the wax paper on, and put that sheet of dough into the fridge while you roll out the second piece of dough in the same way. Put the second piece into the fridge, and take out the first sheet.
Remove one piece of wax paper, and place dough, uncovered side down, into the pie plate. Peel back the other side of the wax paper, and press the dough into the plate. Using scissors, trim the dough around the edges to essentially even with the edge. Save the trimmings in the fridge in case you need to patch later.
NOTE: If you are not making a double crusted pie, leave extra around the edge to fold under to create a decorative rim.
Place the pie plate back in the fridge while you preheat the oven to 350. Position one of the oven racks in the lower third of the oven. You'll be par-baking the crust there to keep the bottom and sides from getting soggy later.
Line the crust with parchment paper, and fill with pie weights or dried beans. Bake for 10 minutes. Carefully remove the parchment and weights, then return the crust to the oven for another 5 minutes. The top edge should just be turning brown, and the rest of the crust should be dry but not brown yet. It may have shrunk a bit, but no worries.

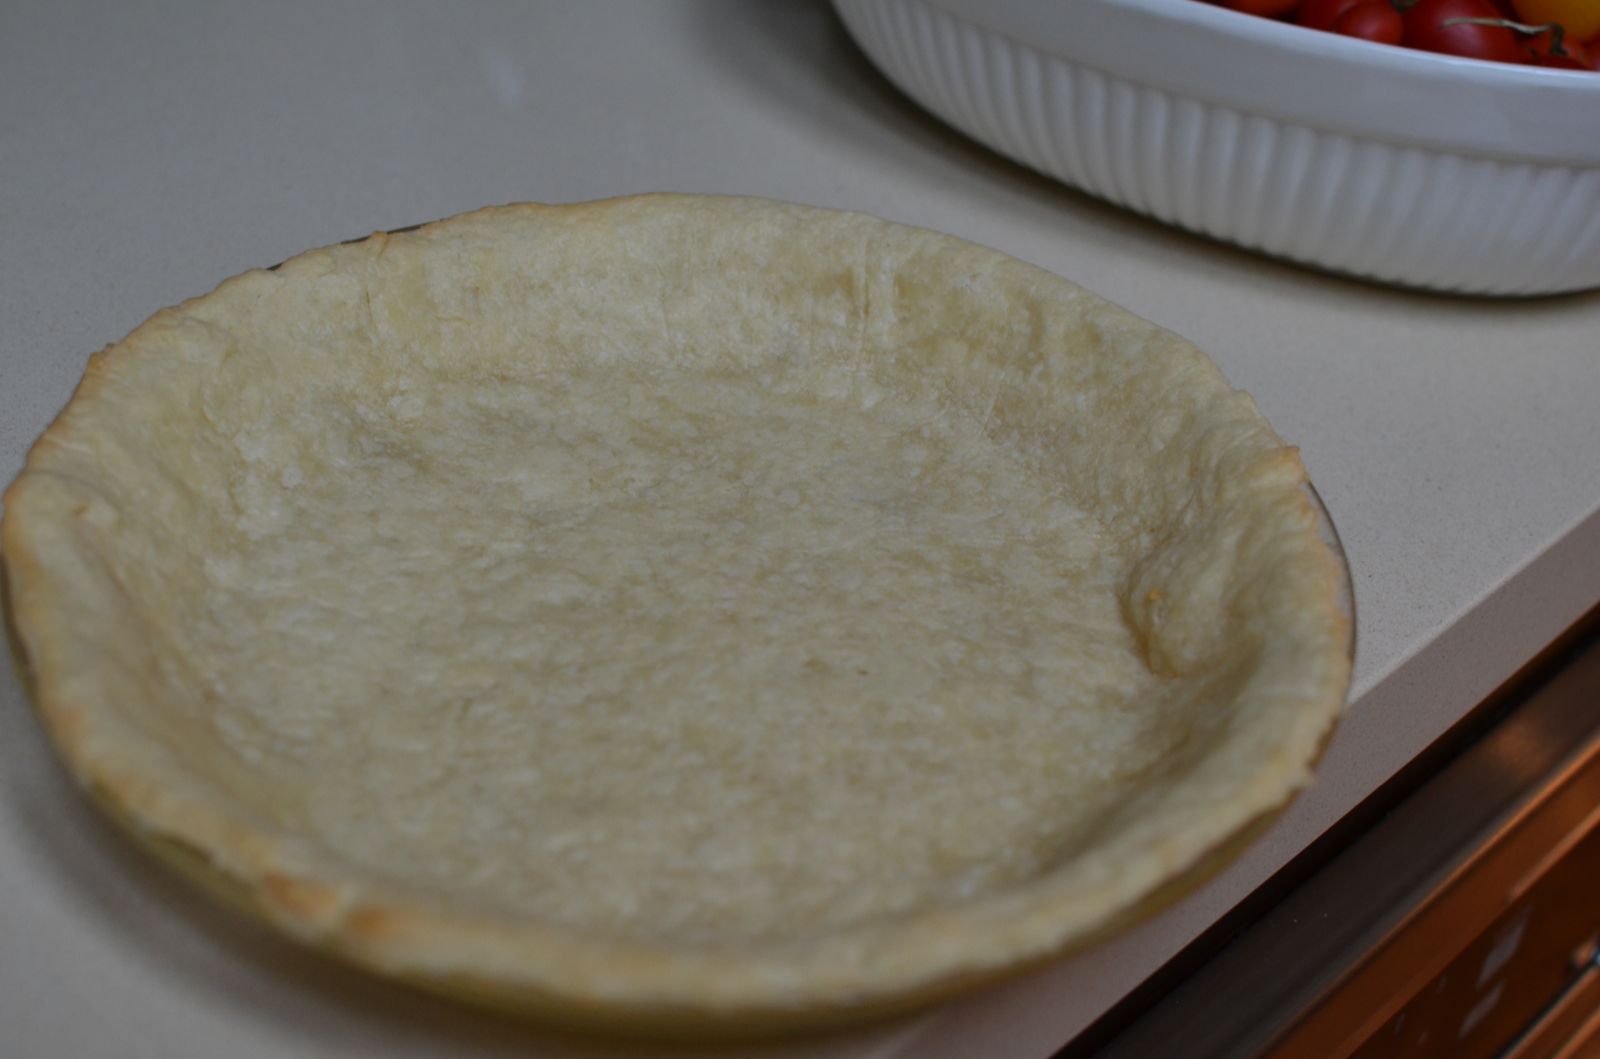
Cool crust completely.

On to the filling!
Get out a large bowl, and add the lemon juice. Peel, core and thinly slice the apples*****, adding them to the bowl of lemon juice as you go to prevent browning. You'll want at least 6-7 generous cups of apples at the end.


Heat a large skillet over medium high heat. Add the butter, and cook until butter is sizzling and golden brown, about 3-4 minutes. Keep an eye on it, as it can burn quite easily. Add the apples and lemon juice from the mixing bowl, and cook, stirring to coat all the apples with the brown butter, for another 3-4 minutes. The apples should be crisp-tender and warm. Sprinkle with 1/4 c. of the sugar and the Calvados/apple cider, stir, and remove from the heat.
Whisk the remaining 1/2 c. sugar, flour, salt and cinnamon together in the mixing bowl. Add the sour cream and vanilla, and whisk until it has a smooth consistency, kind of like frosting. Add everything from the skillet (especially the yummy butter juice!), and stir until all the apples are coated.
Retrieve your prepared pie plate. Use your reserved scraps to patch/add dough to any parts that have shrunk so you have a complete lower crust. Whip the egg white gently in a small bowl with a fork. Brush the bottom of the crust lightly with the egg, just as a little extra anti-soggy insurance. Set the egg white aside, since you'll need it in just a bit.

Spoon the apple mixture into prepared pie crust, mounding a bit in the center, and allowing custard to come to just below the edge.
Take that other flat sheet of pie dough out of the fridge. Remove the top piece of wax paper. Using a small cookie cutter or a knife, cut a few small openings near the center to allow steam to escape while the pie bakes. Place the crust on top of the pie, uncovered side down, then remove the rest of the wax paper. Again, use scissors to trim the dough, this time allowing 1/2 inch or so of extra dough around the edge. Work your way around, folding the edge under and pressing to adhere the raw top crust to the par-baked lower crust. Get artsy, if you like, by adding decorative pieces of scrap dough, and crimping the edge with your fingers. Place the whole pie into the fridge for 15 minutes, and preheat the oven to 400.

Add a splash of Calvados/apple cider to the egg white, and use a fork to combine well. Brush the top of the pie with the egg white mixture, then sprinkle generously with the raw sugar/cinnamon mixture.
Bake for 10 minutes at 400 (still on that lower oven rack), then reduce the oven temperature to 350. Bake for another 45 minutes to an hour, or until the entire crust is deep golden brown. You may need to cover the outer edges with foil partway through so everything comes out even.
Cool for at least a couple of hours before serving******...

...and hope for the best. Surprisingly, you just might get it.
* As in, I was completely surprised. More like shocked beyond belief.
** I would have been thrilled just to get the ribbons and the reusable shopping bags, but there were some other incredible prizes, too!


*** When I was just one of 262 other sweaty contestants with our 347 hopeful pies looking around and thinking, "Man, I am so not gonna win. But my pie does look a tiny bit better than hers." Click for more photos and the full list and pictures of the other winning pies. You can also read a report from the judging area, too, with some spectacular close-up pie photos.
**** I was actually torn between making an apple pie and a cherry mascarpone pie, and made both for my dedicated pool of pie guinea pigs at the office. Opinions were split, so I left it up to fate and Whole Foods. I walked in the night before the contest and right in front were piles of beautiful local organic Honeycrisp apples. There wasn't a single fresh cherry in the store. The seasonality fates had spoken. Turns out they know what they are talkin' about.
***** I use a mandoline, which, while kind of pretentious sounding, works like a charm.
****** Despite an explicit exhortation NOT to deliver a pie hot from the oven, mine were decidedly warm because of course, I overslept. Apparently they do not hold that against you. Just sayin' for next year, gang. 'Cause I'm quitting while I'm ahead, and the field is WIDE OPEN!
* As in, I was completely surprised. More like shocked beyond belief.
** I would have been thrilled just to get the ribbons and the reusable shopping bags, but there were some other incredible prizes, too!


Plus more treats from Sqirl, Valerie Confections, Craft Restaurant, and...

...all these COOKBOOKS!

This one was particularly appropriate, don't you think?
**** I was actually torn between making an apple pie and a cherry mascarpone pie, and made both for my dedicated pool of pie guinea pigs at the office. Opinions were split, so I left it up to fate and Whole Foods. I walked in the night before the contest and right in front were piles of beautiful local organic Honeycrisp apples. There wasn't a single fresh cherry in the store. The seasonality fates had spoken. Turns out they know what they are talkin' about.
***** I use a mandoline, which, while kind of pretentious sounding, works like a charm.
****** Despite an explicit exhortation NOT to deliver a pie hot from the oven, mine were decidedly warm because of course, I overslept. Apparently they do not hold that against you. Just sayin' for next year, gang. 'Cause I'm quitting while I'm ahead, and the field is WIDE OPEN!

thanks for posting a pic of my pie#227 blueberry, congrats!
ReplyDeleteYour pie was absolutely gorgeous. I love blueberry pie, and that looked like a great one. And thank you so much!
DeleteThis is so, so exciting! Congrats!
ReplyDeleteAlso, 2.0 asks almost daily for pie. Apples will be falling from the trees here soon, and I think I might have to make him your showstopper. That outta shut him up for while...
It was very exciting indeed! How lucky you are to live in a land of apple trees...and guys who can be silenced with pie.
Deleteawesome! i cant wait to try your recipe, and thank you for the great pictures and instructions. you deserved the win!
ReplyDeleteThanks, Jasmine!
DeleteHello-
ReplyDeleteCongrats on your win!! I was listening to KCRW and heard about the contest. Sounds so fun! I have a question. I recently moved out of Los Angeles (sea level) to Boulder, CO (5300ft high) I made your crust but at 6 tbsps of liquid the dough was still dry so I added more water. is that okay?? and also is there a reason why you don't add the liquid while still in the processor? I ended up using my hands to get the dough to form more than I wanted. Thanks!!
Hi! Thanks for coming by...and for the kind words. The reason for the process of the crust can be found at this link. Unfortunately I'm not an expert on high-altitude adjustments, but from what I've read about this recipe, adding a little more water should not be a problem at all.
Delete